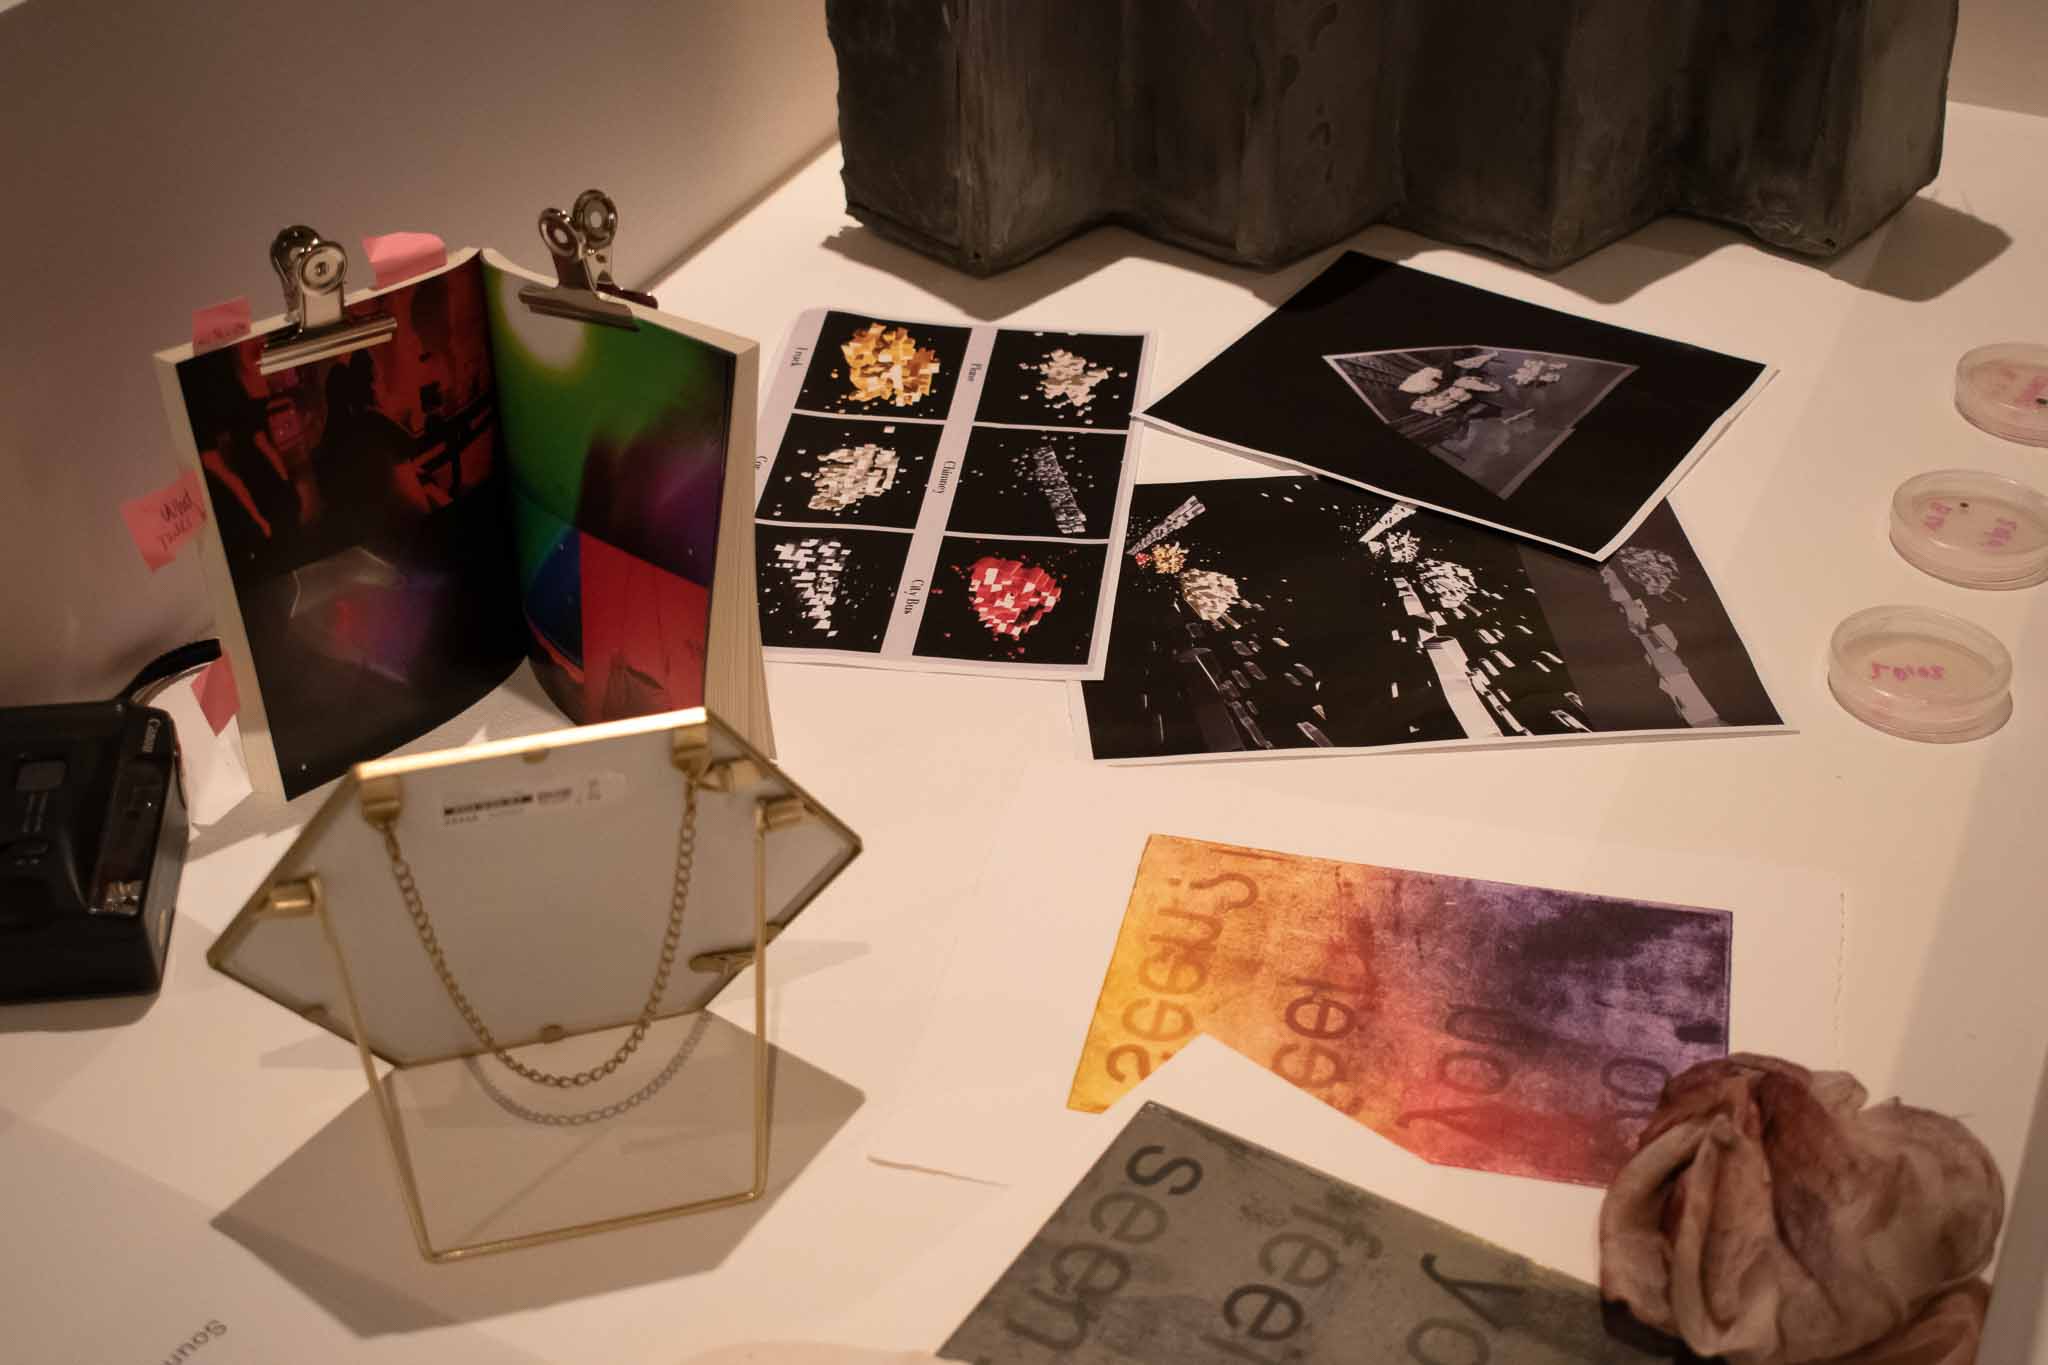
WIP Show
Semester 2 / Week 1 - 6
Studio setup
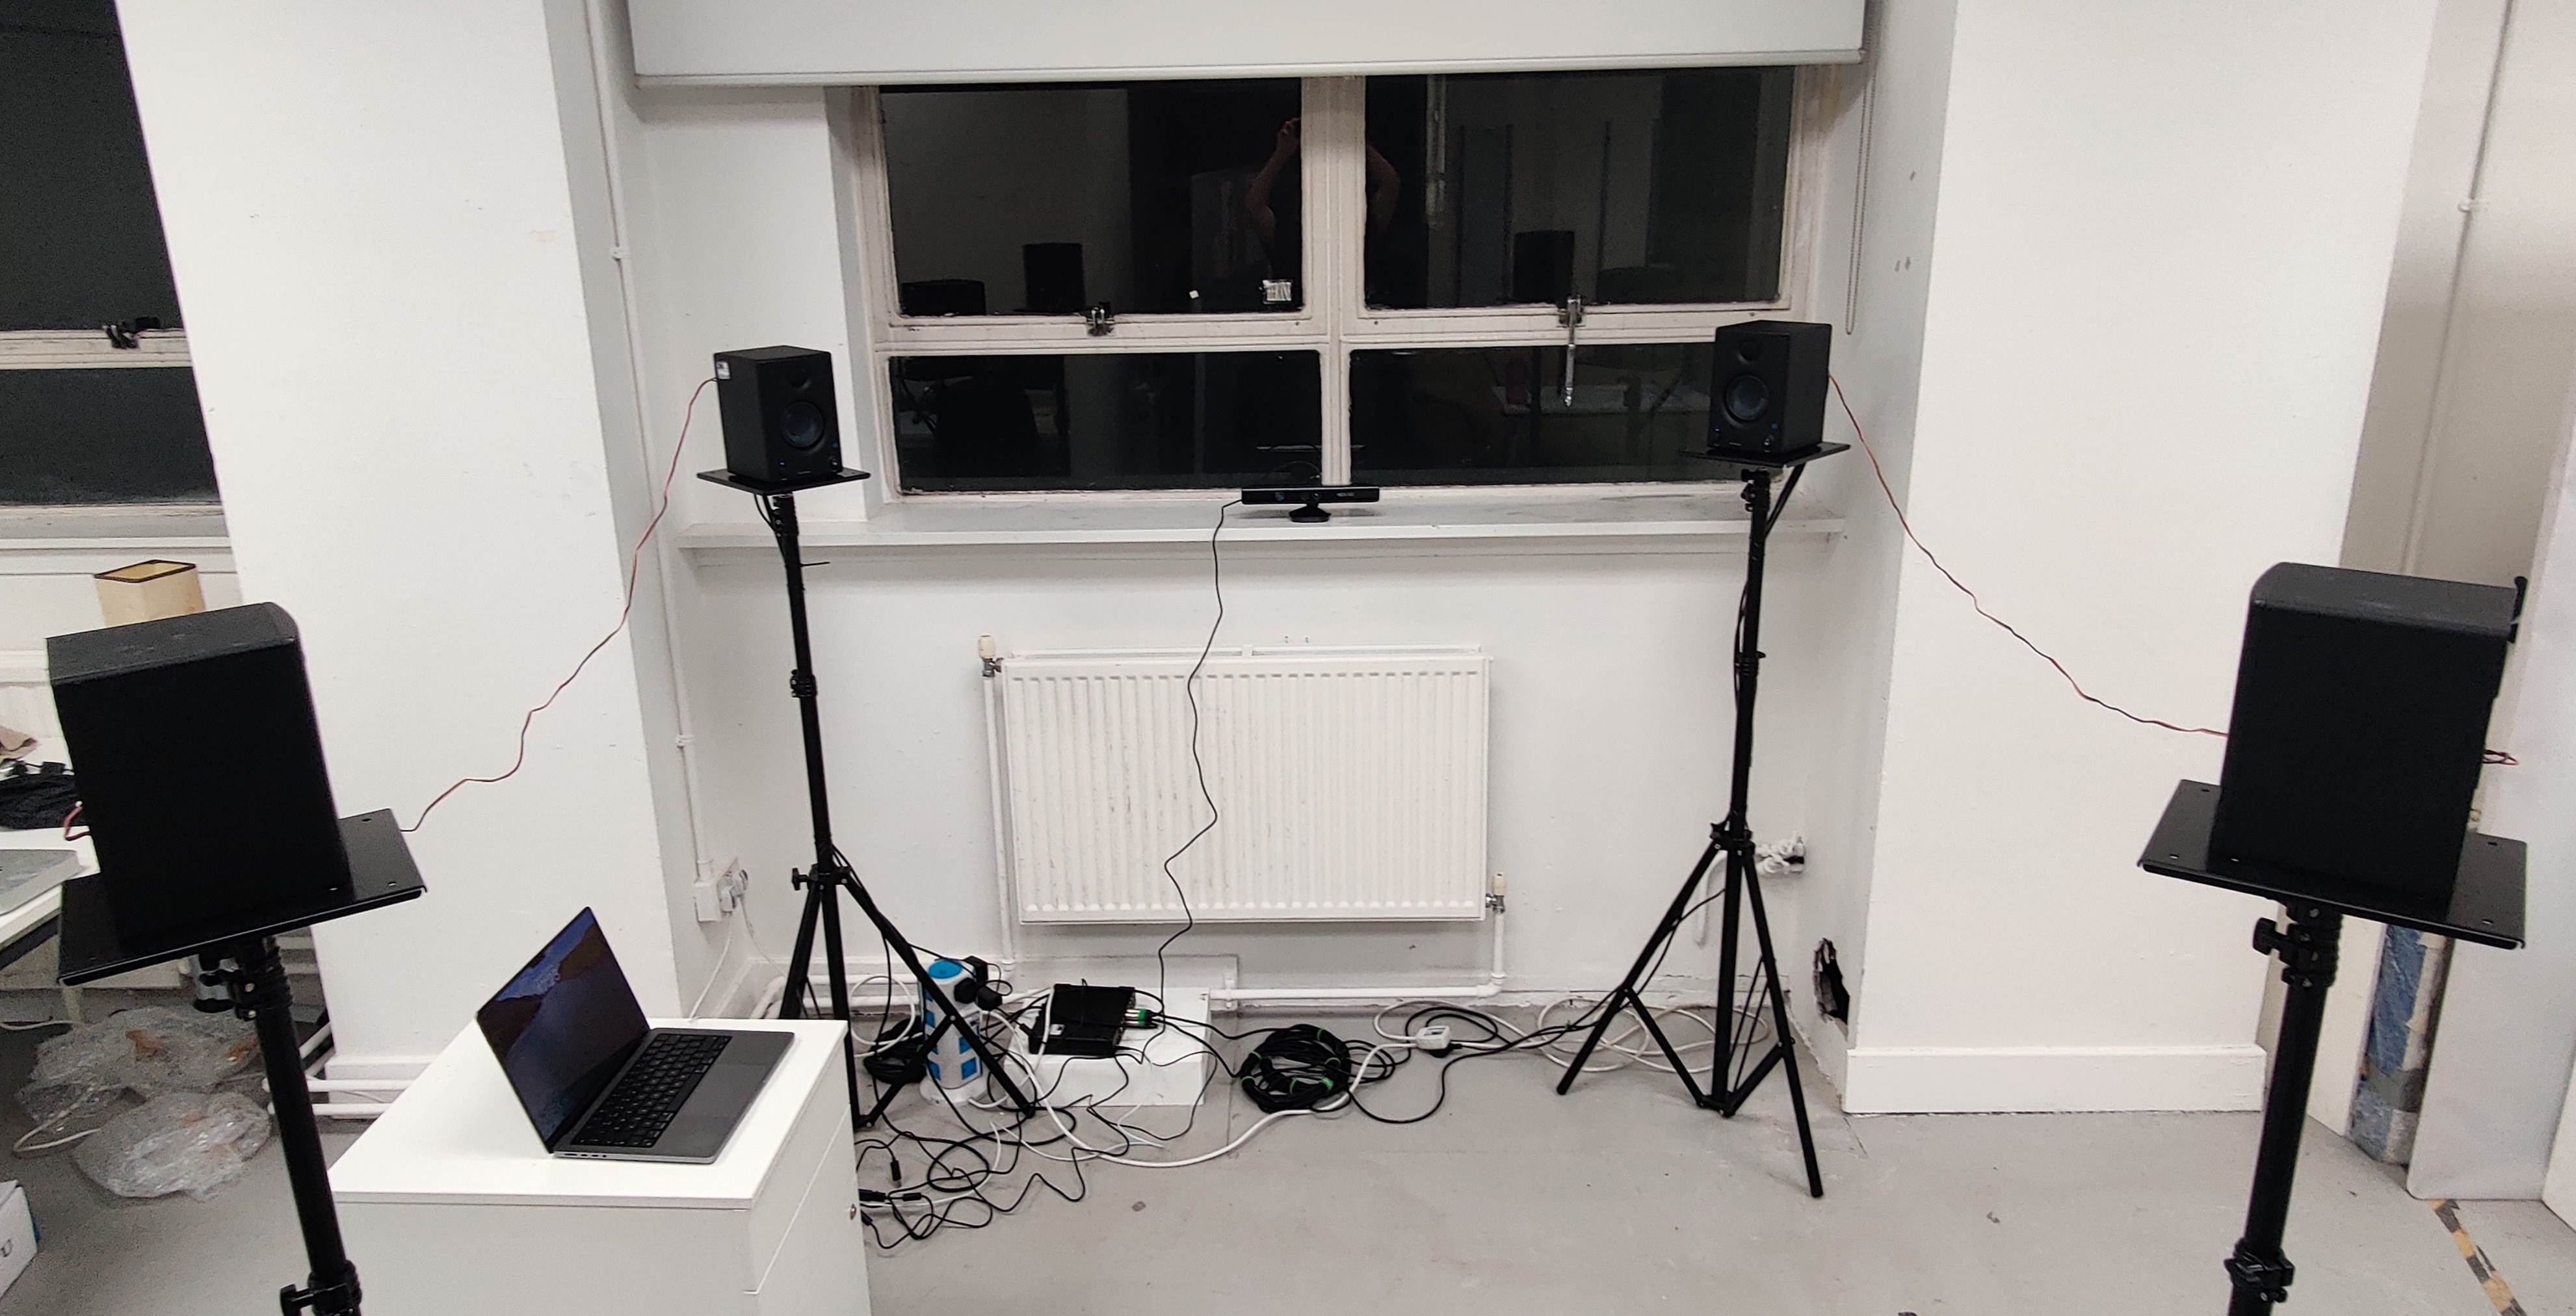
To setup speaker experiments, I cleared out a space in the studio of an unused desk. I then set up 4 speakers on tripod stands with added plate attachments (thank you Gillian). Trying to make it as neat as I could, I ziptied the power cables and audio cables in the speakers along the tripod stands and linked it the UltraLite-mk5 audio interface. The black/red cables connecting the left and right speakers of a duo are quite short which would lead to trip hazard, I have messaged Neil about potential of buying longer cables. Conveniently, the windowsill lets my Kinect camera sit there, which will be useful for testing ideas.
I think the work in progress show will involve getting things working the way I want them. For that reason, I won’t think about potential walls and curtains and decoration for now. I have some ideas, my friend suggested an enclosure like Rirkrit Tiravanija’s Untitled. I was also discussing with a friend how to repurpose a gazebo or something similar. In the actual exhibition, I’d want to probably hide the speakers somehow as the focus will be on the experience, not the technology.
Ableton experiments
I want to pursue the idea of chopping up/granulating long recordings without picking and choosing what samples to use. I will record a few more experiences of me just walking around places, both urban and natural. This’ll allow a diverse amount of sonic material to play with.
In one of my previous posts, I did an experiment trying to procedurally receive random parts of a long sample. This didn’t work too well. I think it was too much load for the CPU and it evoked sound glitches (popping/clicking). I wanted to experiment with another method.
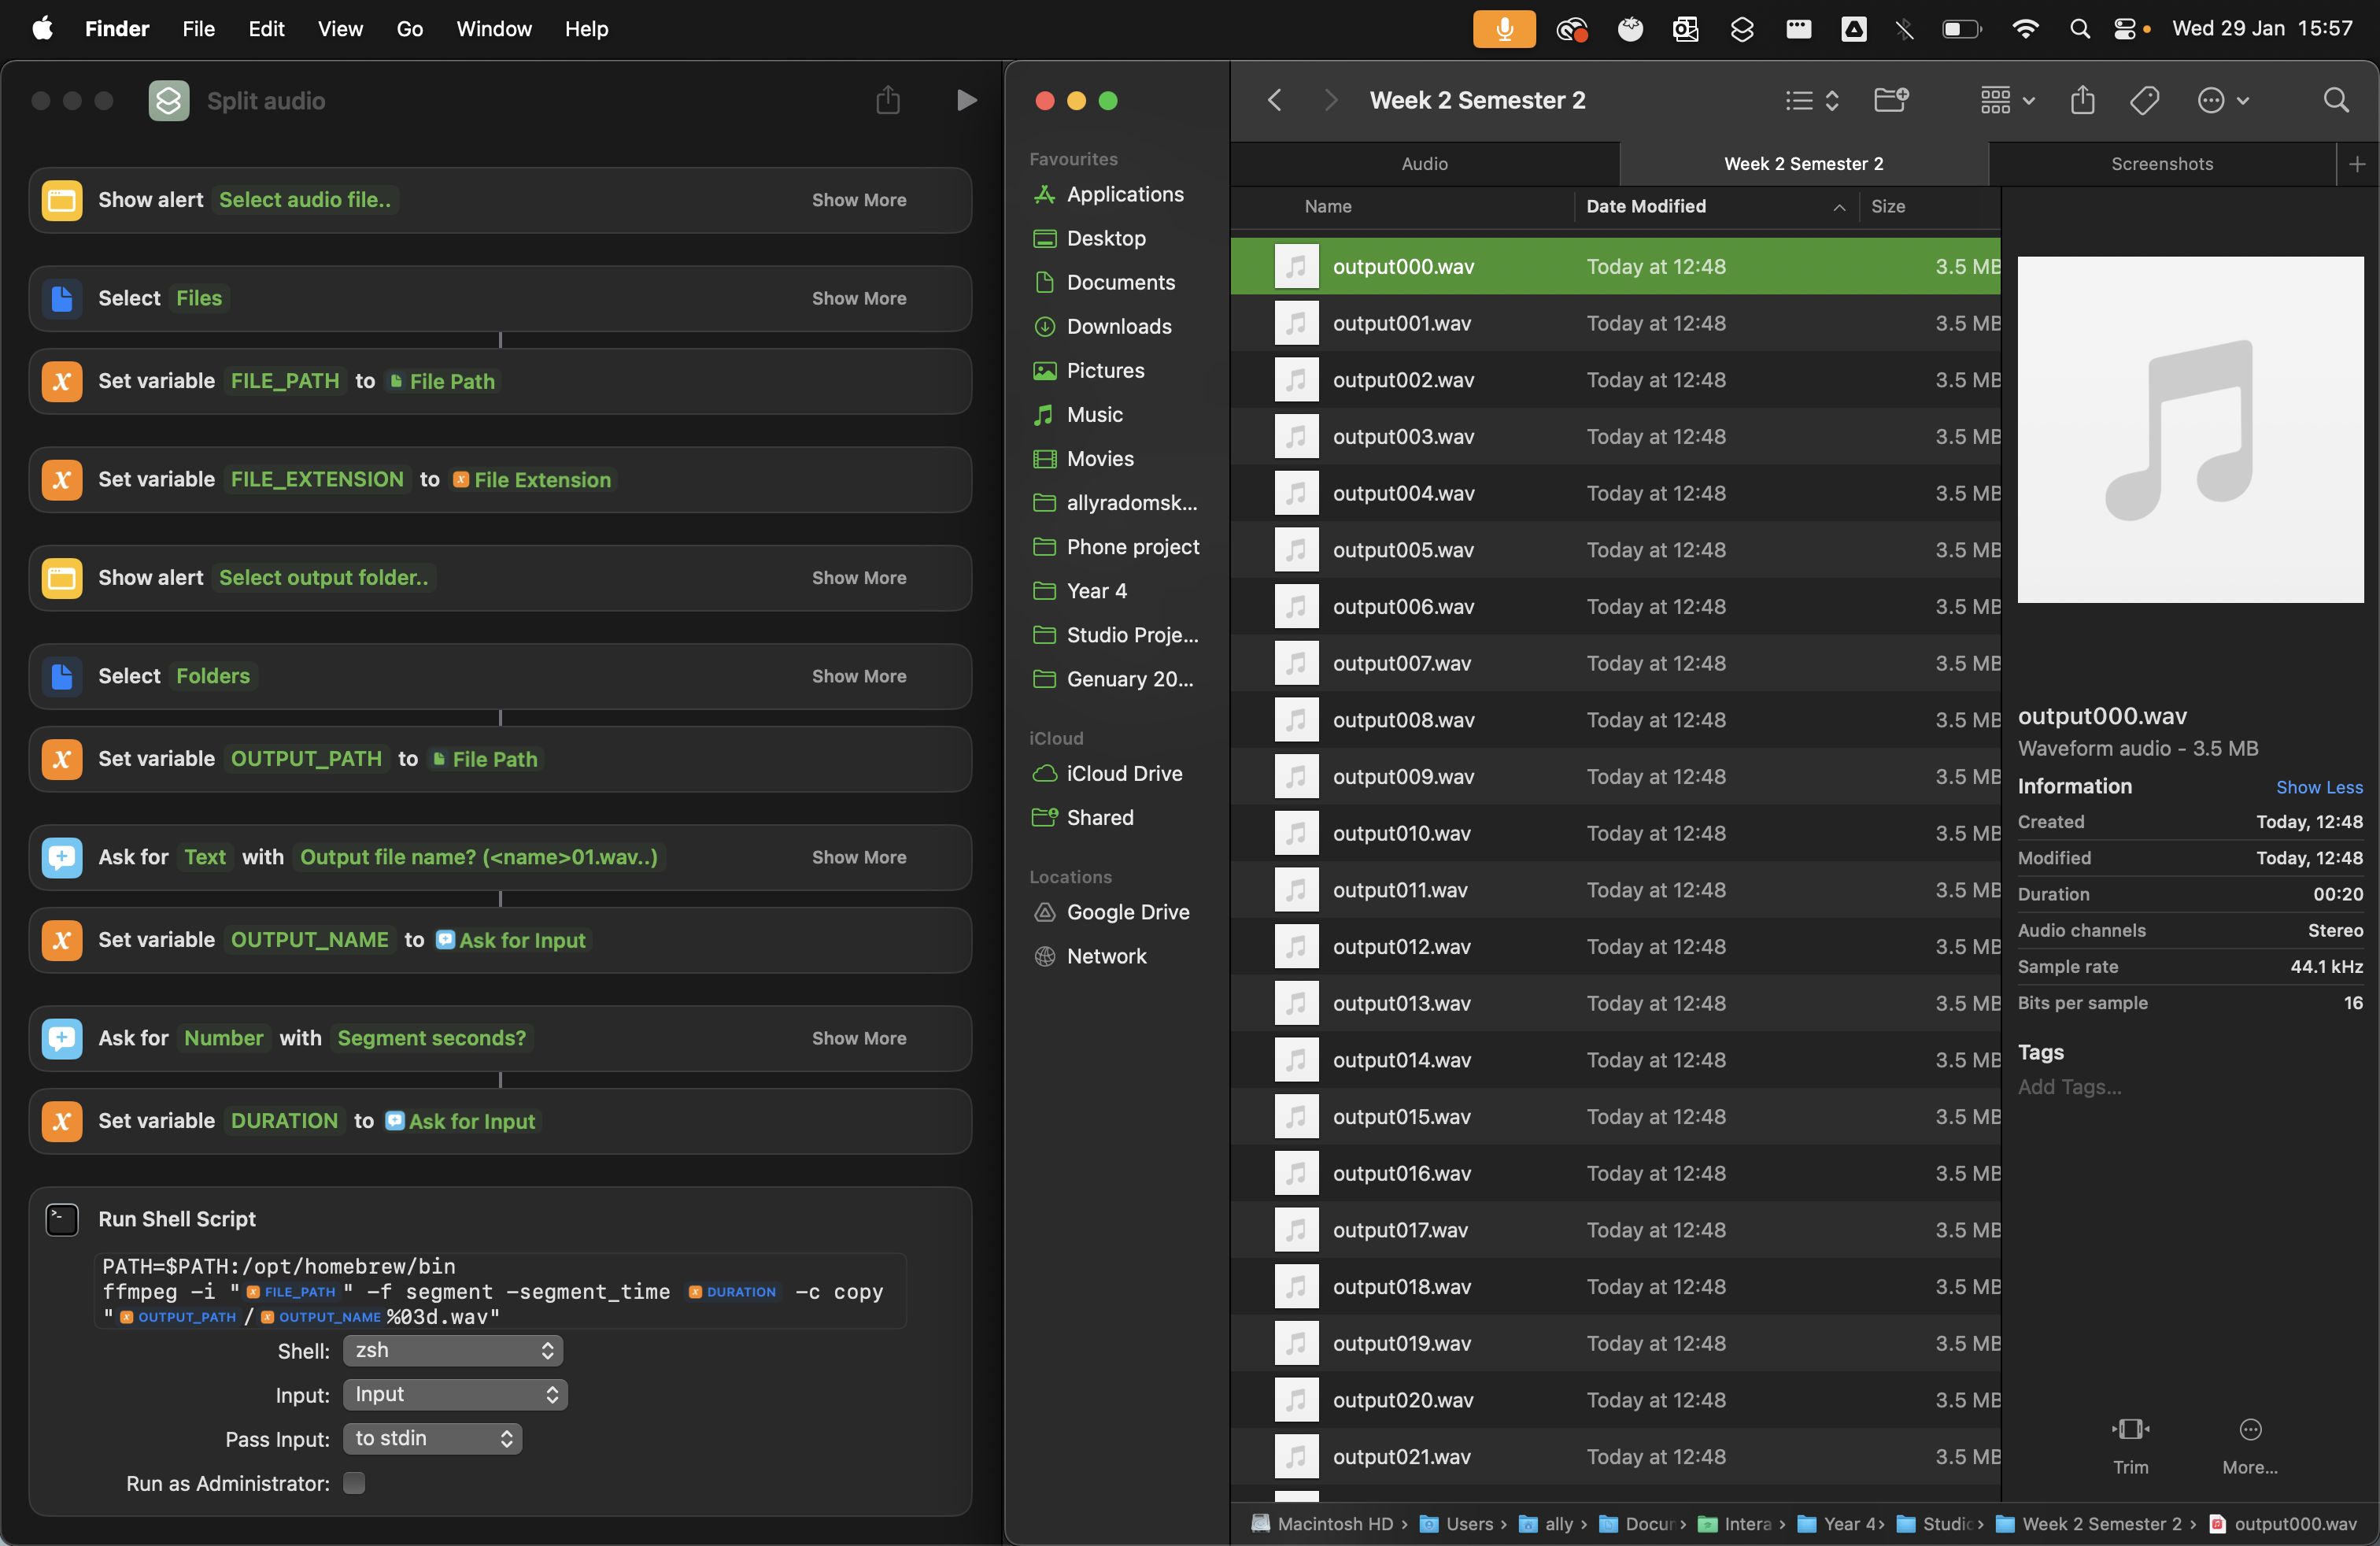
Splitting audio files
Using FFmpeg, I made a program using Mac’s Shortcuts app that lets me select a file, a destination and segment duration. It then quickly splits the audio file into lots of little chunks that I can import into Ableton.
Sampler Instrument
I experimented with various different devices that let me use numerous different samples. First, I looked on maxforlive.com for devices that’d help. I found a Random Sample Picker but an issue I see with this is that it’s $6, and it doesn’t let me change the start time of the audio file. The reason for splitting the files wasn’t to give discrete sounds, but let me able to jump around anywhere in a long audio file.
Sampler only lets me have one audio file so that won’t work.
Next I experimented with the Drum Rack instrument and loaded all my split samples into it. It played the samples fine, but didn’t let me change the start time easily. Same problem as that MaxForLive device. Essentially I had Simpler in each Drum Pad but it would be difficult and tedious to do hundreds of mappings to change the start time of each one.
Sampler looked the most promising, it lets me load lots of different samples into it and play them individually. This works by mapping out different “Zones” to play depending on the key. Initially I thought it had the same problem as before, just that it seemed neater as one device, but I figured it out.
First, the samples warped depending on the note played. This isn’t what I wanted, I didn’t want it to be treated like a piano, but like a drum sampler. This was as easy as selecting all the samples in the Zones tab and turning “Scale” -> “0%”. This fixed it for the most part, except it still has issues when you go below C2.
Next, I needed to figure out how to change the start time of each sample. Sampler has a neat feature in the “MIDI” tab that lets me map velocity to “Sample Offset”. Therefore, using a “Velocity” MIDI device, I can change this easily to change where the sample starts. This lets me vary each sample chunk. The benefit of Sampler too is that it is just one device instead of duplicating it for every sample. I assume this makes it run smoother.
Repeating a short MIDI sequence makes it into a rhythm. It was quite nice to play around with, though I don’t think that’s what I want to achieve fully in the WIP. I want it more continual and procedural, though it could be interesting to have some repeated bits.
E4L
Going further with this, I linked it up to the quad speaker set up and played around for a while changing parameters and experimenting what results I could get from it. I imagined different states of a creature, like a more relaxed state being longer parts of samples cutting out the lower frequencies. Though, thinking about it this way assigns sort of human emotions onto it, which isn’t necessarily wrong. It’d be cool if even I didn’t know what this “creature” was thinking.
Mac Mini Setup
I decided to use the Mac Mini M1 for this project after advice from Daniel Neil to not focus on technical side (I was thinking cheap windows mini PC and PureData for point of lightweightedness), I started setting up the Mac Mini. I downloaded Ableton Live Suite 12 for sound. BlackHole to allow me to record audio from tests. UltraLite-mk5 drivers for the audio. The installations along with the WiFi connection required admin passwords but that was simple enough!
ControlP5 + Open Kinect + MidiBus
I have been thinking about how I want the Processing program to control Ableton and read from the Kinect. I imagine it’ll require quite a bit of fine tuning for how I want it to be and experimenting with values. I figured it could make it easier if I made the Processing program show me what values are going in and happening and maybe I could even change some on the fly.
I remember seeing a user interface library for Processing, and yes, it’s called ControlP5. Some brief brainstorming leads me to ideas of different knobs for the CC controls, maybe each with a lock that lets me control them manually or allow the program to do so. I also will need to control Ableton’s transport buttons from it too, like sending a CC message to start playback. I’m not fully sure how I will automatically launch both Processing and Ableton automatically as soon as PC starts. I know there are Log In items.
Open Kinect Problems and Solutions
Setting up the Open Kinect For Processing library was a little difficult, I was getting errors not being able to load certain libraries. Thankfully when looking through the “Issues” tab on the Github page, I found people with similar problems. A solution to part of the problem was running the Intel version of Processing, thank you j3nsykes (I assume this is the previous tutor!). Another issue was missing libraries for jna.jar. The solution was opening the Intel Processing app and copy some .jar files around.
Past MidiBus issue
In the past I had problems with connecting Virtual MIDI bus to Ableton, even though it was being detected in the status indicator, it wouldn’t connect. I still don’t know what the issue was but I suspect it was some update that fixed it since I upgraded to Ableton 12 and it works well now.
ControlP5 Problem and Solution
At one point in programming the “control panel” system, it’d give a very bizzare error message that I didn’t understand. It happened when adding functions to read controller changes from a knob. After some tinkering, I realise I accidentally made a loop that caused the issue. Changing a knob -> Reading a knob -> Writing to the knob. I didn’t need to write to it again.
Video test
I created this control panel I dub the “Creature Controller”, a play on CC. So far I am able to modify 8 different CC values that are sent to Ableton. I added a little lock button that stops changes. This also links up to the little Akai LPD8 controller. The Start and Stop buttons are linked to CC1 and CC2 which is then linked inside Ableton to start and stop it. This could be done automatically upon program open. There is a camera view with toggles to switch between Colour view and Depth view. The camera then controls a slider depending on movement (similar to my previous experiments). The camera can also be tilted with a slider which makes it easier to test the movement detection function with.
This looks promising. I’m imaging it’ll grow with more interconnected buttons and functions that’ll let me fine-tune and test the “Creature”.
void settings() {
  size(getCanvasWidth(), getCanvasHeight());
}

void setup() {
  setupControl();
  setupControllers();
  setupKinect();
  setupMidi();
}

void draw() {
  background(0);
  drawKinect();
}
int WIDTH = 1000; // Config parameters for grid system
int COLS = 18;
int ROWS = 10;
int PADDING = 10;

int getCol(int col) { // Get position of column number
  return (width - PADDING) / COLS * (col - 1) + PADDING;
}

int getRow(int row) { // Get position of row number
  return (height - PADDING) / ROWS * (row - 1) + PADDING;
}

int getCellSize(int s) { // Get cell size in integer scale of one column/row
  return ((width - PADDING) / COLS - PADDING) * s + PADDING * (s - 1);
}

int getCanvasWidth() { // For use in settings function
  return WIDTH + PADDING * 2;
}

int getCanvasHeight() { // For use in settings function
  return int(WIDTH / (COLS / float(ROWS))) + PADDING * 2;
}
import org.openkinect.freenect.*;
import org.openkinect.processing.*;

Kinect kinect;

int SCAN_WIDTH = 56;
int SCAN_HEIGHT = 42;

float[][] depthMatrix;
float[][] movementMatrix;
float movementOverall = 0.0;

boolean cameraType = true;

void setupKinect() { // Set up base configurations for OpenKinect
  kinect = new Kinect(this);
  kinect.initDepth();
  kinect.initVideo();
  kinect.enableIR(false);
  kinect.enableColorDepth(true);

  setupDepthMovementMatrix();
}

void setupDepthMovementMatrix() {
  depthMatrix = new float[SCAN_WIDTH][SCAN_HEIGHT];
  for (int i = 0; i < SCAN_WIDTH; i++) {
    for (int j = 0; j < SCAN_HEIGHT; j++) {
      depthMatrix[i][j] = 0.0;
    }
  }
  movementMatrix = new float[SCAN_WIDTH][SCAN_HEIGHT];
  for (int i = 0; i < SCAN_WIDTH; i++) {
    for (int j = 0; j < SCAN_HEIGHT; j++) {
      movementMatrix[i][j] = 0.0;
    }
  }
}

void drawKinect() { // Update with main draw loop
  if (cameraType) { // Swapping between camera views
    image(kinect.getVideoImage(), getCol(11), getRow(5), getCellSize(8), getCellSize(6));
  } else {
    image(kinect.getDepthImage(), getCol(11), getRow(5), getCellSize(8), getCellSize(6));
  }

  scan();
  updateMovementMatrix();
  getMovementOverall();

  control.getController("movement").setValue(movementOverall);
  control.getController("cc4").setValue(movementOverall * 127.0);
}

void scan() {
  PImage depthMap = kinect.getDepthImage().get();
  depthMap.resize(SCAN_WIDTH, SCAN_HEIGHT);

  for (int i = 0; i < SCAN_WIDTH; i++) {
    //int xPosition = int(map(i, -1, SCAN_WIDTH + 1, 0, depthMap.width));
    for (int j = 0; j < SCAN_HEIGHT; j++) {
      //int yPosition = int(map(j, -1, SCAN_HEIGHT + 1, 0, depthMap.height));

      float newDepth = lerp(depthMatrix[i][j], brightness(depthMap.get(i, j)), 0.01);

      movementMatrix[i][j] = constrain(movementMatrix[i][j] + abs(map(depthMatrix[i][j] - newDepth, 0, 255, 0, 1)), 0, 1);
      depthMatrix[i][j] = newDepth;
    }
  }
}

void updateMovementMatrix() {
  for (int i = 0; i < SCAN_WIDTH; i++) {
    for (int j = 0; j < SCAN_HEIGHT; j++) {
      movementMatrix[i][j] -= 0.001;
      if (movementMatrix[i][j] < 0) {
        movementMatrix[i][j] = 0;
      }
    }
  }
}

void getMovementOverall() {
  float total = 0.0;

  for (int i = 0; i < SCAN_WIDTH; i++) {
    for (int j = 0; j < SCAN_HEIGHT; j++) {
      total += movementMatrix[i][j];
    }
  }

  total = total / (SCAN_WIDTH * SCAN_HEIGHT);
  movementOverall = lerp(movementOverall, total, 0.1);
}
import controlP5.*;

String TITLE = "CREATURE CONTROLLER";
String FONT_NAME = "PTMono-Regular";

ControlP5 control;

void setupControl() { // Set up base styling and configurations for ControlP5
  control = new ControlP5(this);

  ControlFont font = new ControlFont(createFont(FONT_NAME, 10));
  control.setFont(font); // Default font

  control.setColorForeground(0xff999999); // Gray
  control.setColorBackground(0xff222222); // Dark Gray
  control.setColorActive(0xffdddddd); // Light GRay
}

void setupControllers() { // Set up ControlP5 controllers (knobs, buttons, ..)
  ControlFont titleFont = new ControlFont(createFont(FONT_NAME, 30)); // Big font for title
  control.addButton("title")
     .setPosition(getCol(1), getRow(1))
     .setSize(getCellSize(18), getCellSize(1))
     .setFont(titleFont)
     .setLabel("Creature Controller")
     .setLock(true);

  control.addButton("startPlayback") // To start playback
     .setPosition(getCol(1), getRow(2))
     .setSize(getCellSize(1), getCellSize(1))
     .setLabel("start");

  control.addButton("stopPlayback") // To stop playback
     .setPosition(getCol(2), getRow(2))
     .setSize(getCellSize(1), getCellSize(1))
     .setLabel("stop");

  control.addToggle("cameraToggle") // Toggle between camera views
     .setPosition(getCol(11), getRow(10))
     .setSize(getCellSize(2), getCellSize(1))
     .setValue(true)
     .setLabel("Video")
     .setMode(ControlP5.SWITCH);

  control.addSlider("movement")
     .setPosition(getCol(11), getRow(3))
     .setSize(getCellSize(1), getCellSize(2))
     .setLock(true)
     .setRange(0, 1);

  control.addSlider("tilt")
     .setPosition(getCol(12), getRow(3))
     .setSize(getCellSize(1), getCellSize(2))
     .setRange(0, 30);
  control.getController("tilt").getValueLabel().align(control.LEFT, control.TOP_OUTSIDE).setPaddingY(0);
  control.getController("movement").getValueLabel().align(control.LEFT, control.TOP_OUTSIDE).setPaddingY(0);

  for (int i = 1; i <= 8; i++) { // CC 1 - 8 knobs
    int col;
    int row;
    if (i <= 4) {
      col = (i - 1) * 2 + 1;
      row = 7;
    } else {
      col = ((i - 4) - 1) * 2 + 1;
      row = 9;
    }
    control.addKnob("cc" + i)
      .setLabel("CC " + i)
      .setRadius(getCellSize(1))
      .setPosition(getCol(col), getRow(row))
      .setRange(0, 127)
      .setNumberOfTickMarks(127)
      .snapToTickMarks(true)
      .setLock(false)
      .setId(i)
      .hideTickMarks();
  }

  control.getController("cc1").setLabel("CC 1 (Start)"); // Set label for "cc1"

  control.addButton("ccButtonLock") // Button toggle to lock CC knobs
     .setPosition(getCol(9), getRow(10))
     .setSize(getCellSize(1), getCellSize(1))
     .setLabel("Locked");

  if (ccLocked) { // Initialise the lock toggle
    ccLocked = false;
    ccButtonLock();
  }
}

void controlEvent(ControlEvent event) { // Called if any controller value is altered
  String name = event.getController().getName();
  if (name.startsWith("cc")) { // If a knob between "cc1" - "cc8"
    int value = int(event.getController().getValue());
    int number = name.charAt(2) - '0';
    sendControlChange(number, value); // Send midi message
  }
}

void cameraToggle(boolean value) { // Called when camera toggle is pressed
  cameraType = value;
  String label;
  if (value) {
    label = "Video";
  } else {
    label = "Depth";
  }
  control.getController("cameraToggle").setLabel(label);
}

void ccButtonLock() { // Called when CC lock button is pressed
  if (ccLocked) {
    control.getController("ccButtonLock").setLabel("unlocked");
  } else {
    control.getController("ccButtonLock").setLabel("locked");
  }

  for (int i = 1; i <= 8; i++) {
    control.getController("cc" + i).setLock(!ccLocked);
  }

  ccLocked = !ccLocked;
}

void startPlayback() { // Called when start playback button is pressed
  control.getController("cc1").setValue(127);
  delay(100);
  control.getController("cc1").setValue(0);
}

void stopPlayback() { // Called when stop playback button is pressed
  control.getController("cc2").setValue(127);
  delay(100);
  control.getController("cc2").setValue(0);
}

void tilt(float value) {
  kinect.setTilt(value);
}
import themidibus.*;

MidiBus bus;

boolean ccLocked = true;

void setupMidi() { // Set up base configurations for MidiBus
  MidiBus.list();
  bus = new MidiBus(this, "LPD8", "Virtual MIDI");
}

void controllerChange(int channel, int number, int value) { // Whenever detect a change from the input device ("LPD8" currently)
  if (ccLocked == false) {
    control.getController("cc" + number).setValue(value);
  }
}

void sendControlChange(int number, int value) { // Send controler change to Ableton
  bus.sendControllerChange(1, number, value);
}
Further Experiment
I linked the variables together from the control panel to Ableton to do a quick test. The audio seemed to run well without much stutter which I think I’ll be able to expand more audio into it. One issue I see is the position of the kinect camera. I think it’d benefit from looking down from above, since from where it is now, movement is seen bigger the closer it is to front of the set up. If the camera was looking down, everything would be pretty much the same plane and the floor would limit the depth. Currently the background of the camera has a lot of differing depth.
Mounting
3D print
I was looking at methods to mount a Kinect V1, and I found this 3d model. It clips into the kinect and then can mount to a tripod. I was thinking this could be a good first step to exploring how to mount from ceiling. I know there are ceiling mounts for lights, cameras, tvs, that may be compatible with it.

I applied supports to the lock pieces which should hold it. The first print I attempted failed, the filament got picked off and moved around.
With help from Marco and Mikhail, they told me to select Prusa PETG and 0.15mm SPEED and that seemed to work.
After trying to get all the supports off and let the locks slide smoothly into place, I couldn’t get it to work. I ended up snapping one of the locks.
Mounting brackets
Apparently the basement space in the Reid doesn’t allow ceiling mounting, which thrown a bit of a curve ball to mounting. I could have an arm mounted on the wall that points the camera down.


Back to Ableton
I am wanting multiple random notes to be played at once. I want to be able to modulate the amount of notes to be played. The Chord midi effect works kinda, but I struggle to see how to make it modulate number of keys. I looked around maxforlive.com to try and find answers but couldn’t find anything. In the end I used the Chord device and modulated it using specific percentages. I inferred that the steps in the chord device round down so I used formula (shiftNumber / 36) * 100 to determine what percent to put the LFO modulation at.
Before in my tests, I sent a CC to control the transport of the Ableton project. But what I didn’t realise was this restarted the transport every time I did this, which meant that the midi was being cut off. I know there may be better ways to do this in Max, but I haven’t learnt it. One way I figured out how to make it auto start only once was modulate CC, (I used CC 8), then in Ableton I check if it is being modulated, then I send a message to start the transport.
Disabling bug reports and restore work dialog
Another issue I potentially saw when looking around was bug reports and recover dialog stunting the automatic opening of the Ableton project. I forced quit Ableton and confirmed that it does appear. Ideally, the Mac will be shut down properly everytime properly, but in case it isn’t then can do these options.
options.txt

-SupressStartUpMessages
-NoRestoreDocumentDialog
-DisableAutoBugReporting
I can also quickly dismiss the “Save” dialog when I attempt to quit the project.
Shutting down in installation
I am trying to think of ways in which the Mac can be shutdown in the exhibition without a screen or keyboard. Holding the Power button on the Mac Mini brings up the shutdown dialog which brings an issue. I’d rather this not be there. I know you can force shutdown by holding the power button for a while, but this isn’t good for the computer.
https://soundforums.net/community/threads/mac-experts-how-to-make-a-mini-shut-down-gracefully-with-the-power-button.12014/
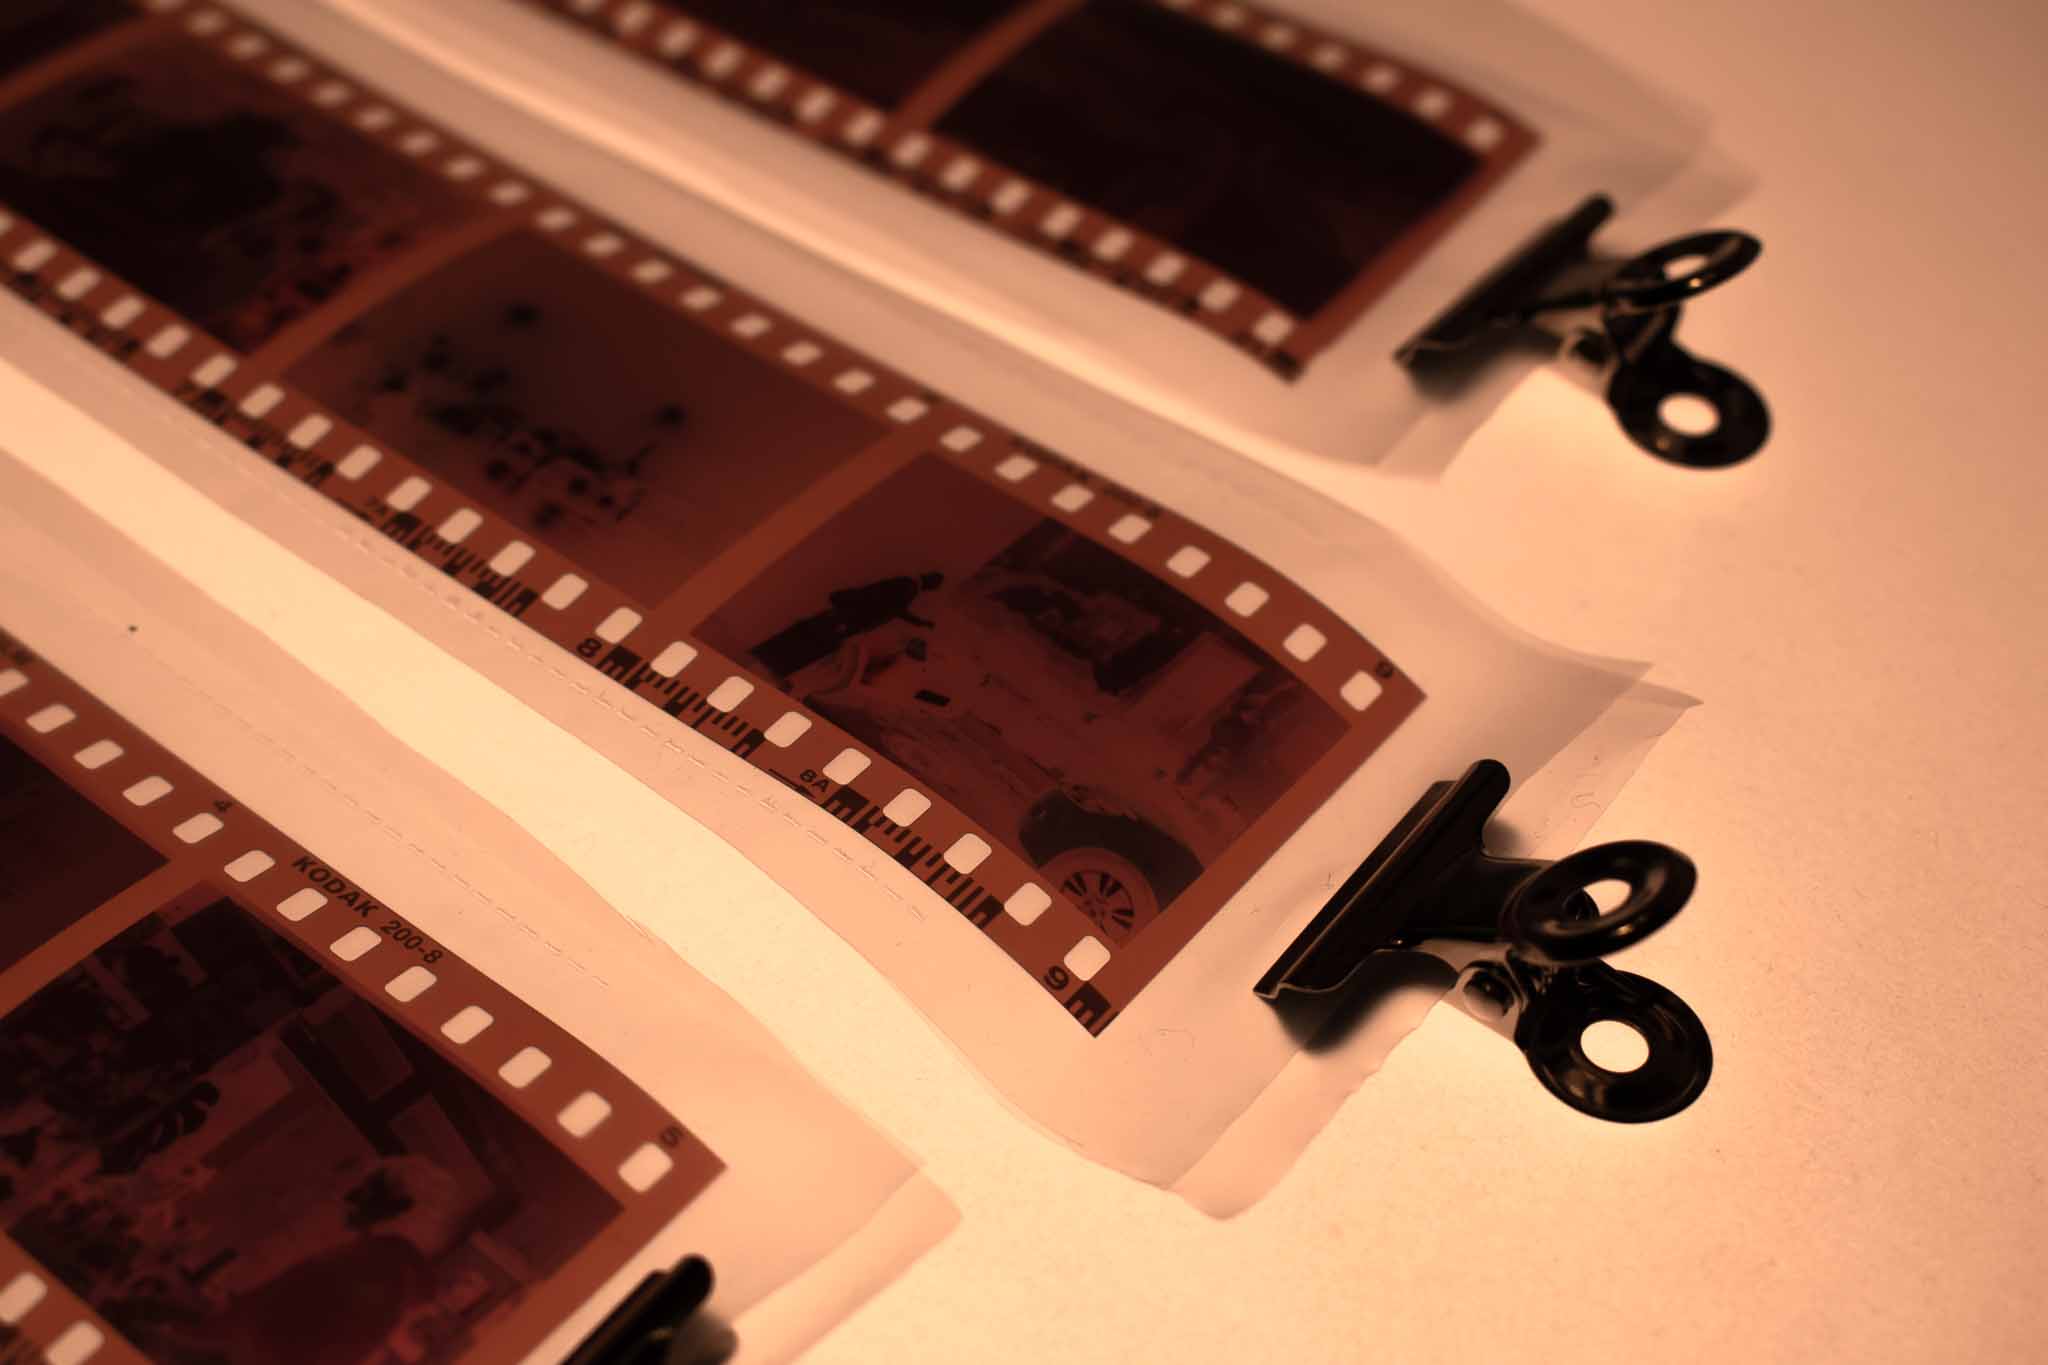
Recording audio
I want to record more audio by going on more sound walks in various areas. I also want to make sure not to sniff, which happens when it’s cold out, occasionally my sniffles get displayed in spatial, which is slightly embarassing.
Meeting with Daniel Neil
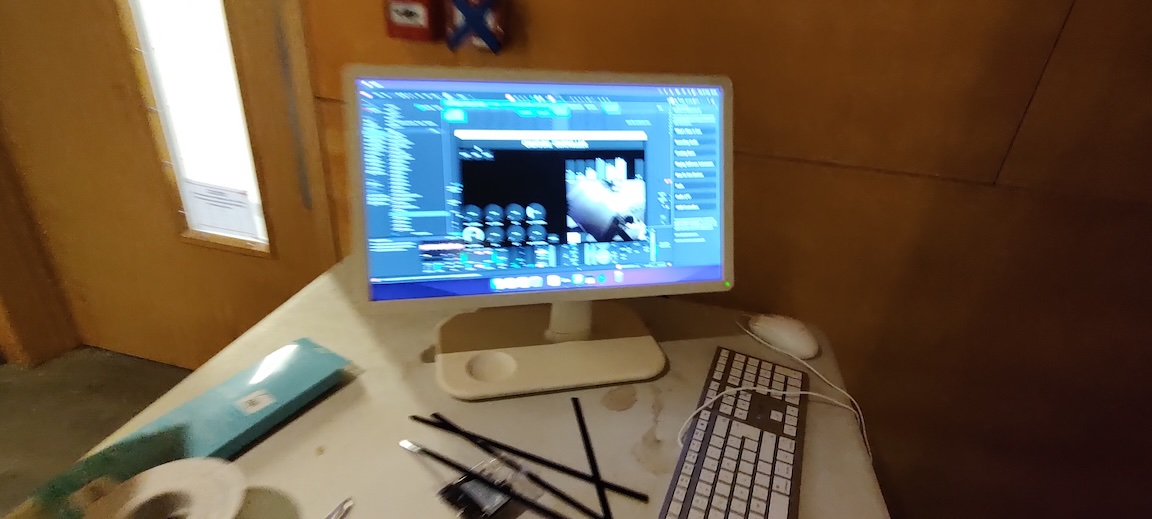
Daniel came into the studio to look at what I have been doing. It was very useful, he gave the idea of sampling areas instead of long sample of a walk. This idea is worth exploring, it is more point to point than continous which can offer benefits. He also looked at my Ableton project and showed new ideas of how to do things, which was quite enlightening. It had completely crossed my mind to think about radius in the stereo panners, which is quite silly as it is a crucial part to spatialness. He showed me ways to do gradual falls and rises using expression control randomness to make multiple different panners ease in and out and warp.
I used this technique in my final WIP work and it did have a nicer effect of it coming around you.
Setting up
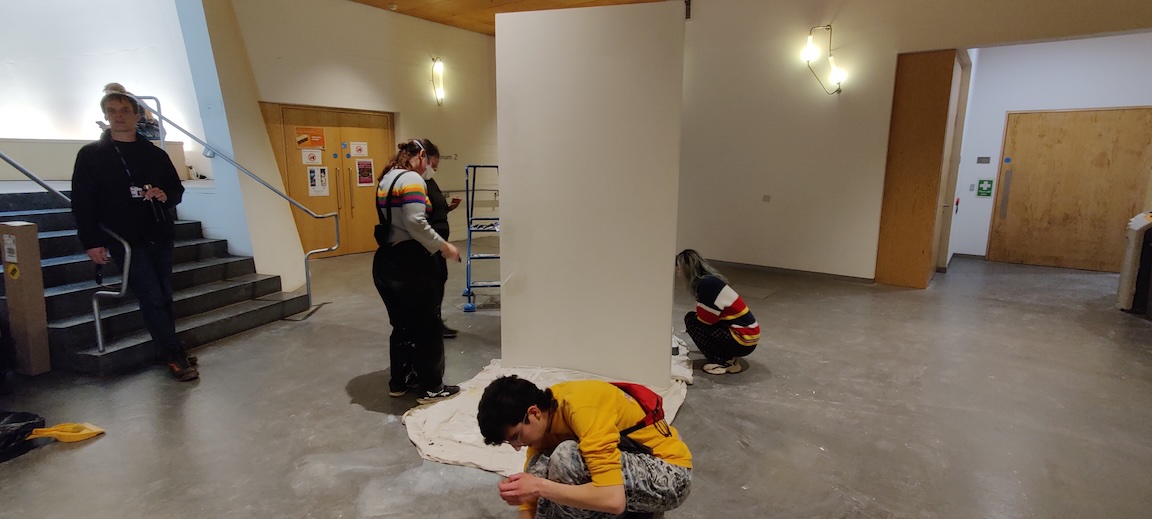
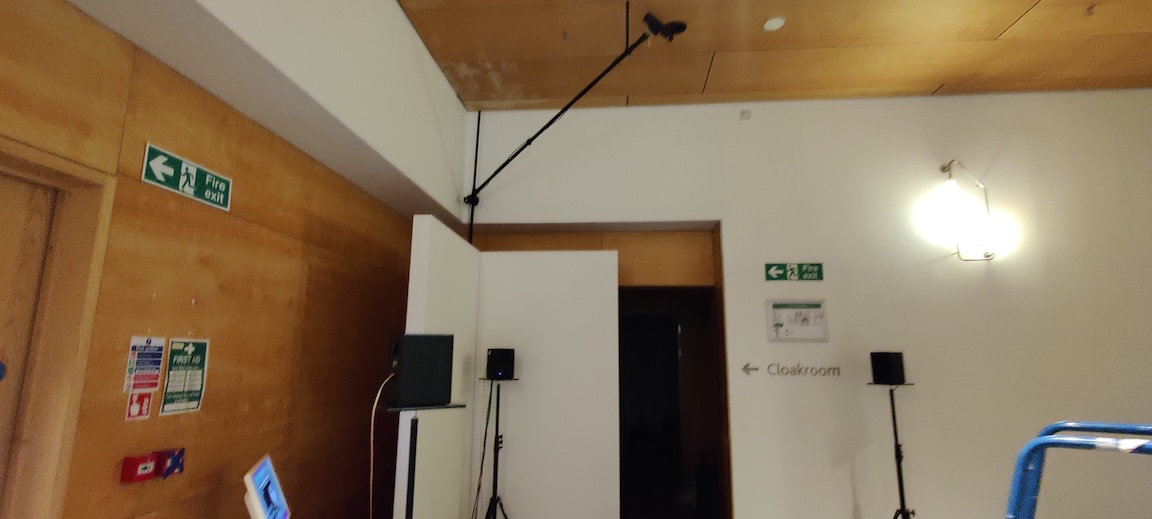
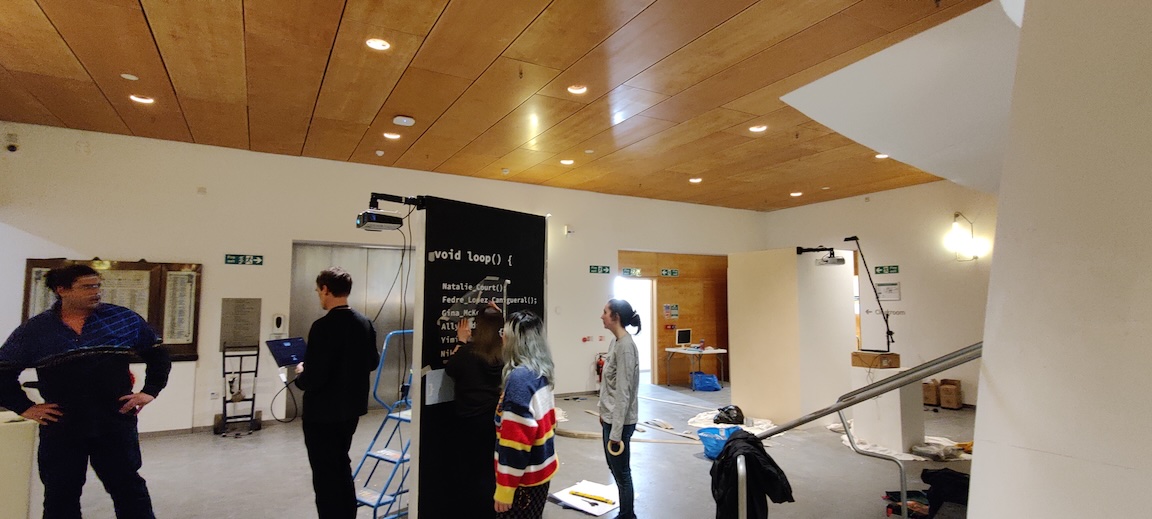
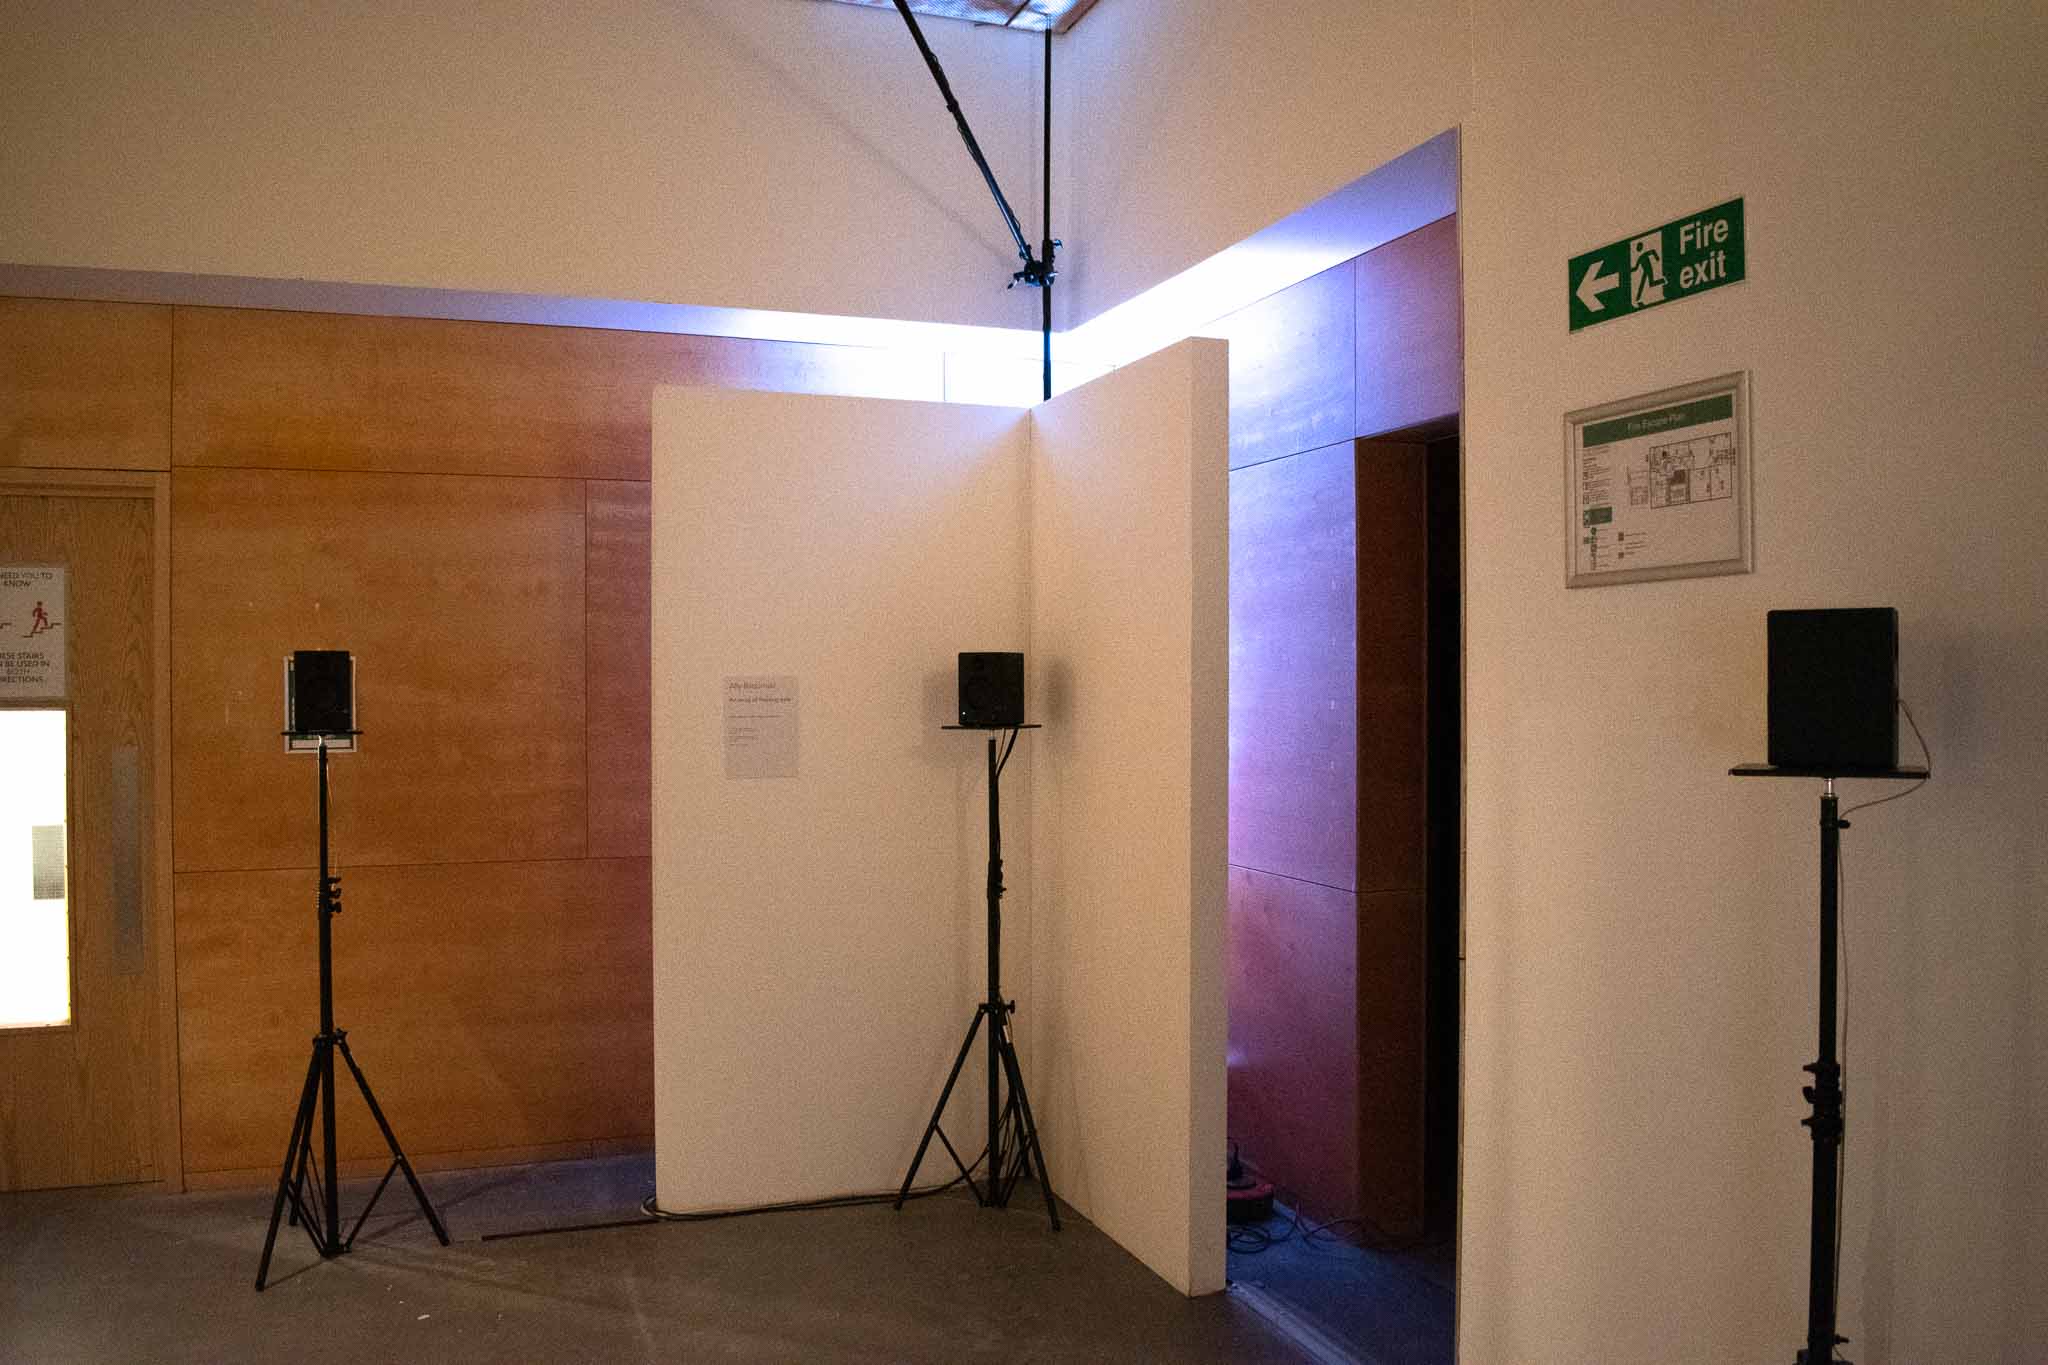
We set up the exhibition in the Reid basement over a few days.
The first thing we did was scrape off the black paint from the parts of the walls that didn’t need. We used a step ladder to get to the tops of the walls for those that were too short for it! We kept one wall to put a vinyl title on. It took a little while to do but we got the hang of it eventually. The next thing we did was patch up holes in the walls using Polyfilla.
Next was painting, we had a few paint rollers and a big bucket of white paint. We put rags down on the floor to try our best to avoid getting paint in the basement floor. Most of the walls needed only a layer or two. The wall I used in the corner next to the fire escape needed a few layers due to the big pollyfilla fills and black scuffs on the edges.
The hardest job was moving all the equipment up the hill from the Barnes to the Reid. We managed it, we communicated through Whatsapp to be efficient and helped each other with heavy items. The big vitrine needed 4 of us to carry it.
I needed to use three cable covers on the floor for my cables providing sound and power to the speaker pairs, especially since it was next to a fire exit and a first aid room.
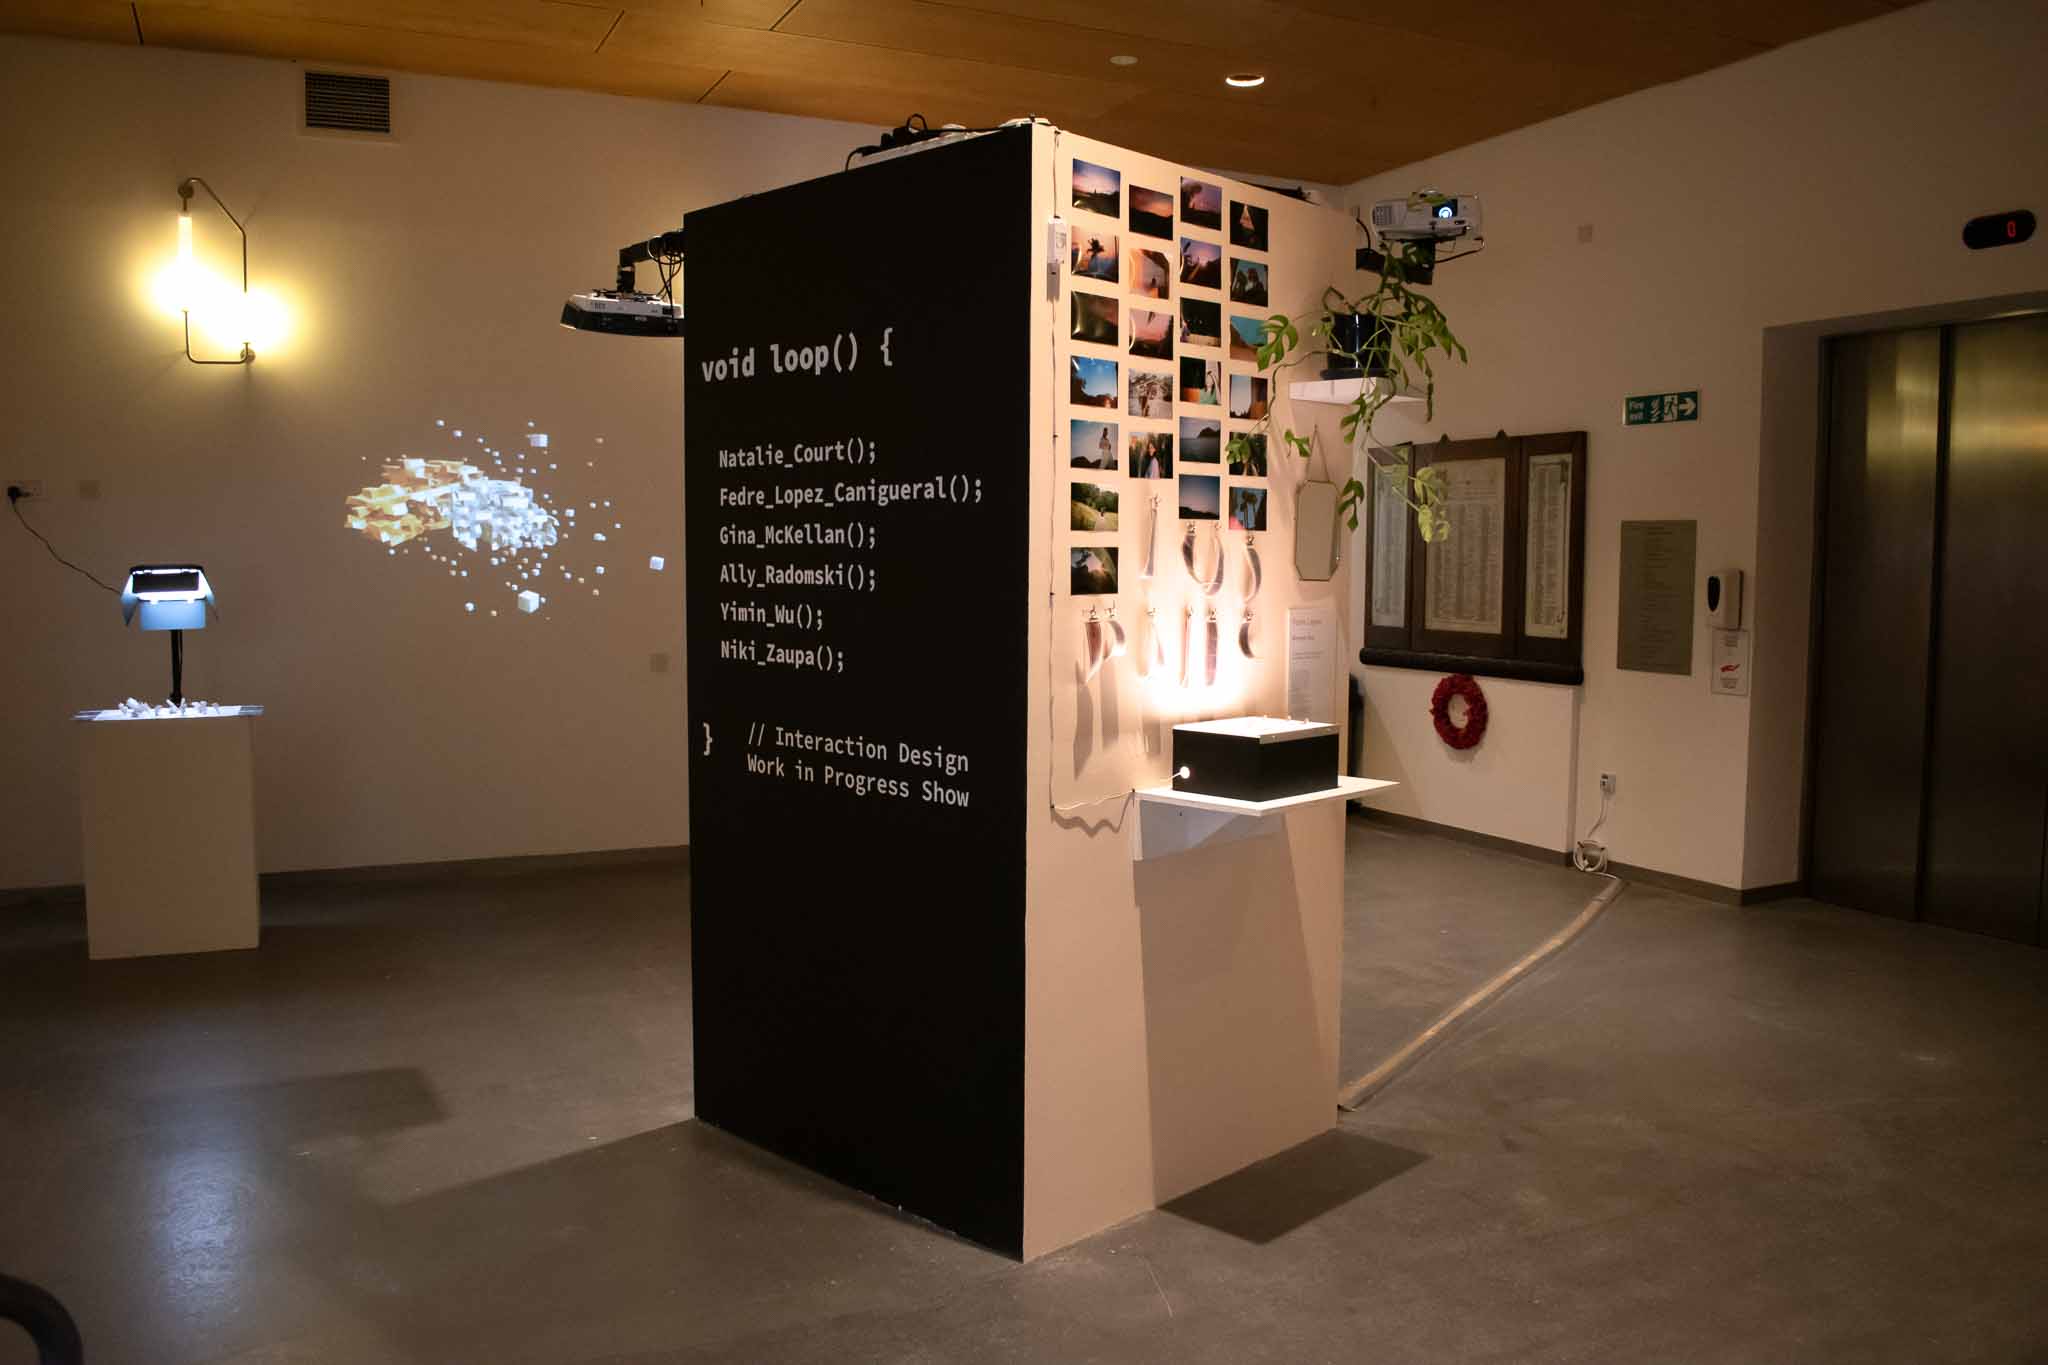
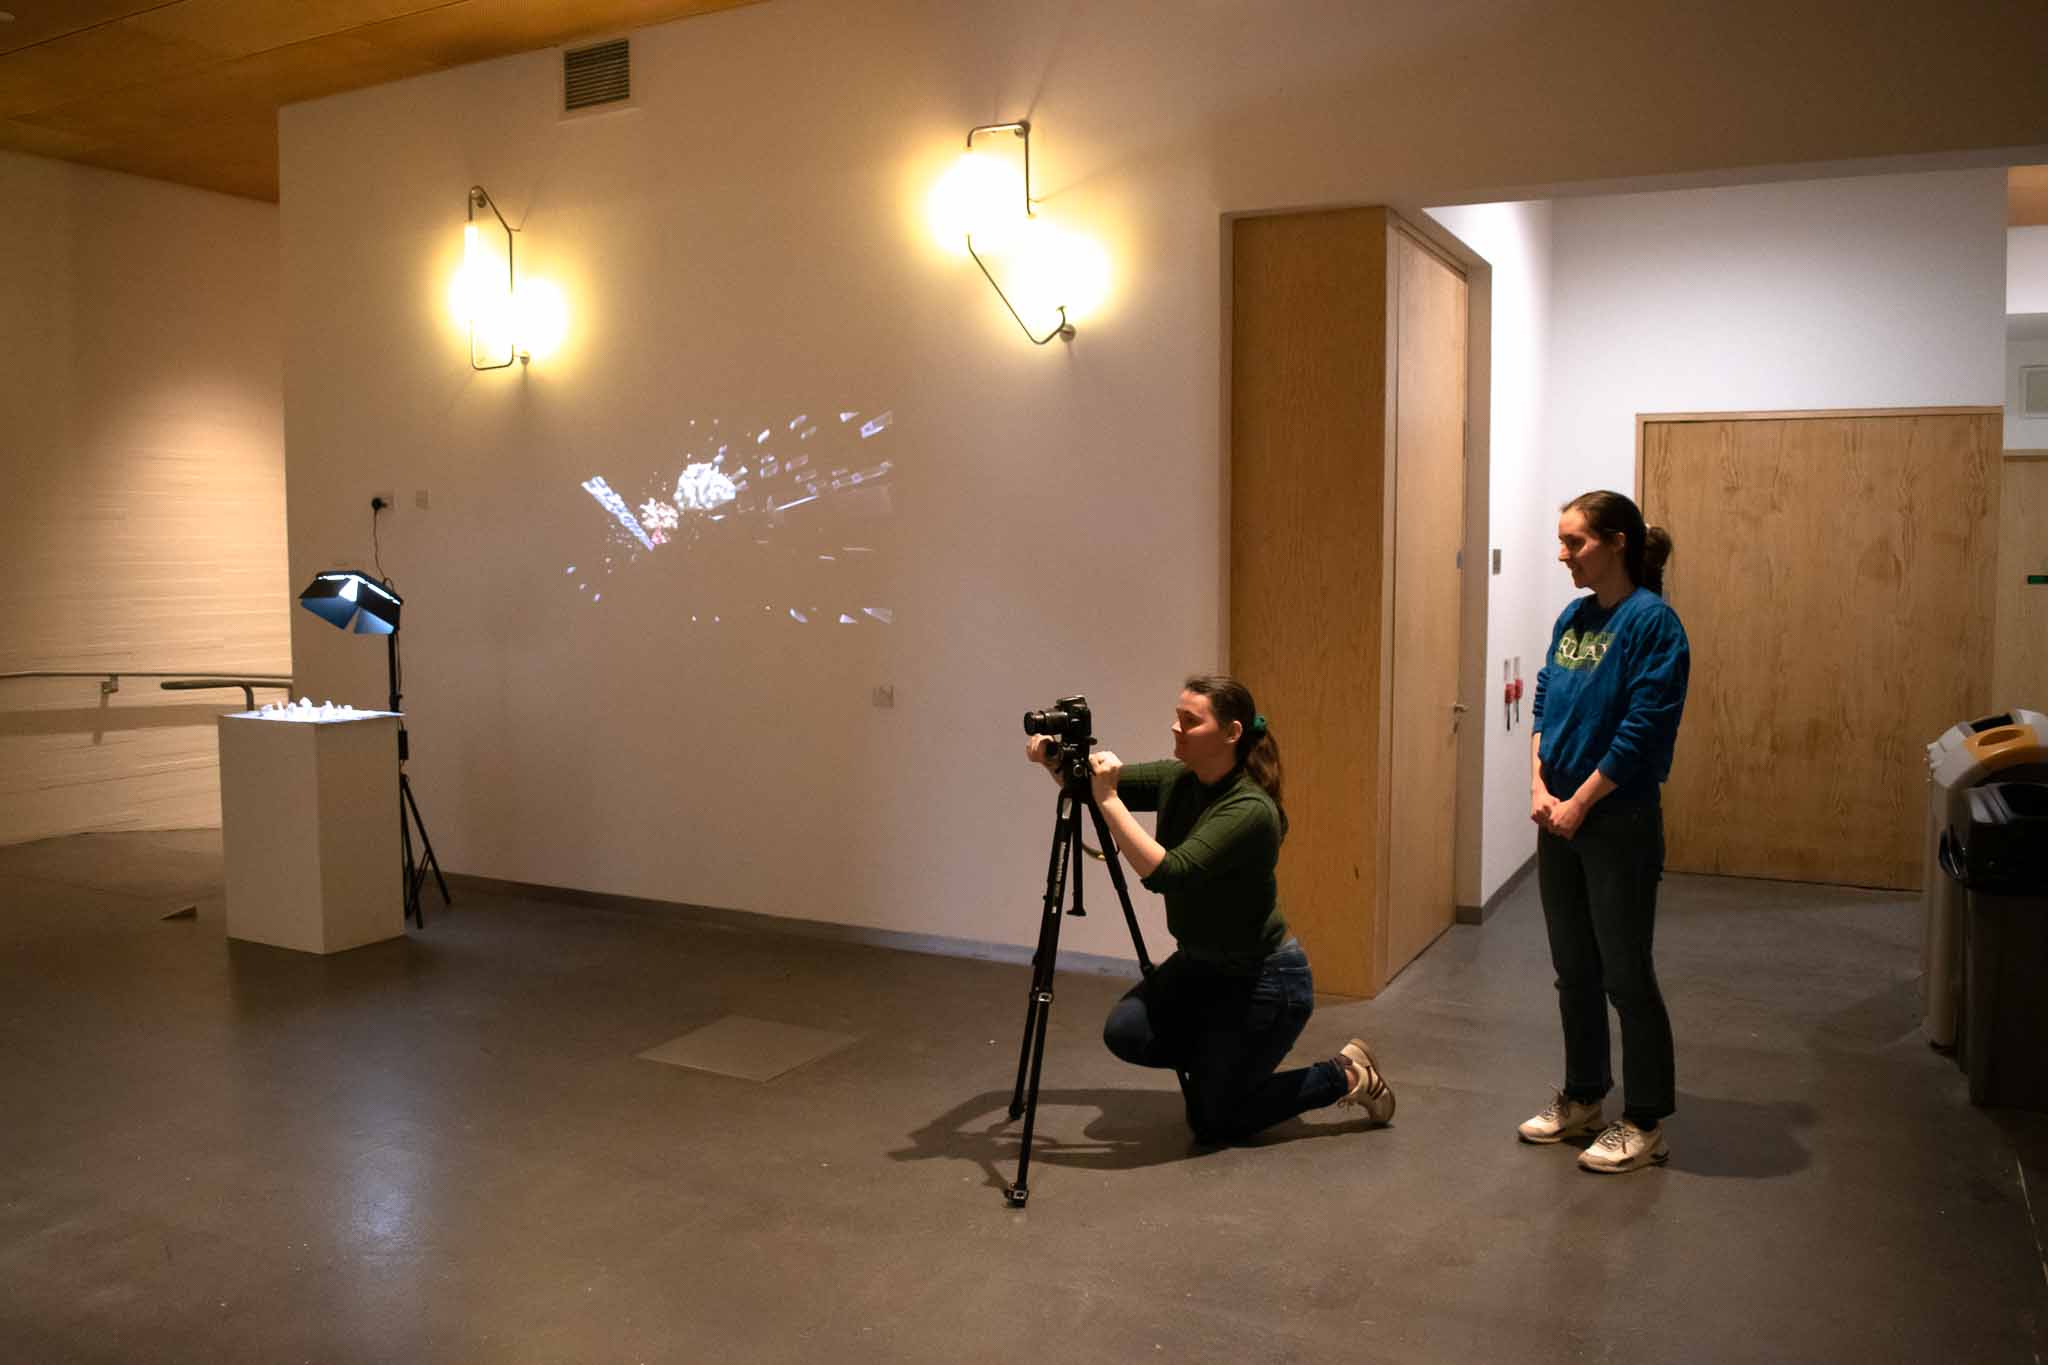
Photos of final setup
The final setup of the exhibition was excellent. It was nice to see our hardwork come to fruition. I was particularly proud of mine being so neat and tidy, especially with the little addition of the backlight behind the L wall.


Feedback & Thoughts
The opening was brilliant, it was nice to see lots of people interacting with everyone’s works. I got a lot from people interacting with mine.
I think it was quite confusing on what mine was doing initially to people, and then I think it turned into a sort of gimmick. It reacted way too fast and was very drastic. People were putting their ears up to the speakers to try and hear them which I think was quite profound in my thinking about how to portray it. I was trying to sort of force an experience of deep listening. The experience overall was quite muddy, and although I think very interesting, it didn’t achieve what I wanted to achieve. In the feedback, it was said the sound was quite muddy. I agree. I employed too many layers and randomness that it didn’t do what I wanted it to do. I wanted people to pick out the sounds and listen to the qualities of the sonic material in a curious/indepth manner. A way to change this next would be to gently bring attention to different sounds and not make it messy.
In the feedback, Cat noted that it seemed quite formal. I didn’t think this was initially. I thought of trying to minimise visual distractions but I think it did the opposite. Since it is empty and formal, it brings the wrong idea of what it is to it. I feel it made it seem like a spatial sound piece that was not working.
I had had trouble coming up with a name and description for my artwork. I found it a hard balance of providing too much information and telling people what to experience and the other side being too vague and coming off pretentious. Feedback from Cat about this was
You spoke interestingly about your thinking around sound as a material, how it can stand on its own, and how this connects to your DHT work. It would have been good to see some of this thinking expressed in your Info Card accompanying the work, which as it stands is rather sparse. Remember: the purpose of the info cards is not to explain every detail of the work, or what the viewer should think about it, but to give an insight into your thinking and generally frame your enquiry.
I still want to explore the idea of it being a “creature” or “alive”, I’ll have a proper reflection and will voice these in the next journal entry.
January 2025